Since Textable v3.1.0, the TreeTagger widget lets you integrate the morphosyntactic analysis of TreeTagger right into your Textable workflows. In order to use the widget, you need a working install of the TreeTagger package (which is free). If you don’t already have one, instructions on how to get it can be found at the end of this post. If you already have a working install, keep reading!
The first time that you create a copy of the TreeTagger widget, it will try to locate your TreeTagger distribution automatically in a number of standard locations (such as C: on Windows and /Applications on MacOS). If it’s not in a standard location, the widget will issue a warning and you’ll need to locate the TreeTagger folder manually by clicking on Locate TreeTagger:
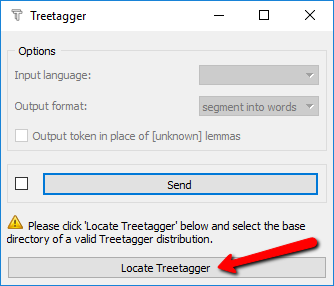
This opens a dialog that enables you to navigate to the location of the TreeTagger base folder (which contains the lib, bin and cmd subdirectories) and select it. You only need to do this once, as the location is saved in the widget’s configuration.
Once the widget is connected with TreeTagger, using it is straightforward. First connect the text source you want to analyze to the widget’s input. For example, you might retrieve the text of the Universal declaration of human rights using the URLs widget:

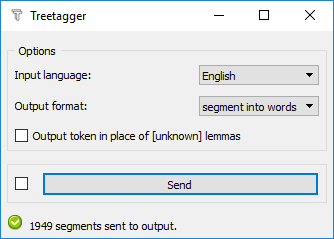
Once this is done, you need to configure the TreeTagger widget, in particular choose the input language (provided the corresponding parameter files have been installed):
The two other options concern the output of the widget. If the Output format is set to segment into words, every token identified by TreeTagger will be in a separate segment, with lemma and pos-tag annotations:
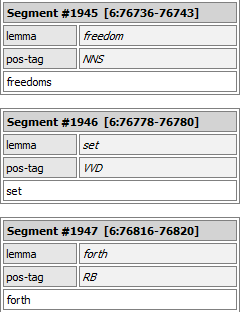
This format is most useful if you simply want to count lemmas or POS-tags in the entire input. If, on the other hand, the input is already segmented into meaningful units (e.g. the content of several urls) and you want to preserve this information, set the Output format to Add XML tags. This way, the output contains the same number of segments as the input, and the lemma and POS-tag information is encoded by means of xml tags:
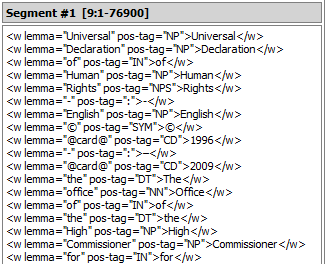
If needed, these data can then be segmented into individual tokens using the Extract XML widget. Here’s a complete example using this design pattern to compare the frequency of POS-tags in the Universal Declaration of Human Rights and in the Declaration of the Rights of Man and of the Citizen, which you’re encouraged to download and try for yourself: Comparing POS-tag frequency in two texts (1117 downloads)

On Windows:
On MacOS:
cd /Applications/Treetagger (+enter)bash install-tagger.sh (+enter)